Last updated: 12 March 2026
Thank you for purchasing Dasai Mochi by Warstek 3D Print. Buy our Dasai Mochi at Shopee.
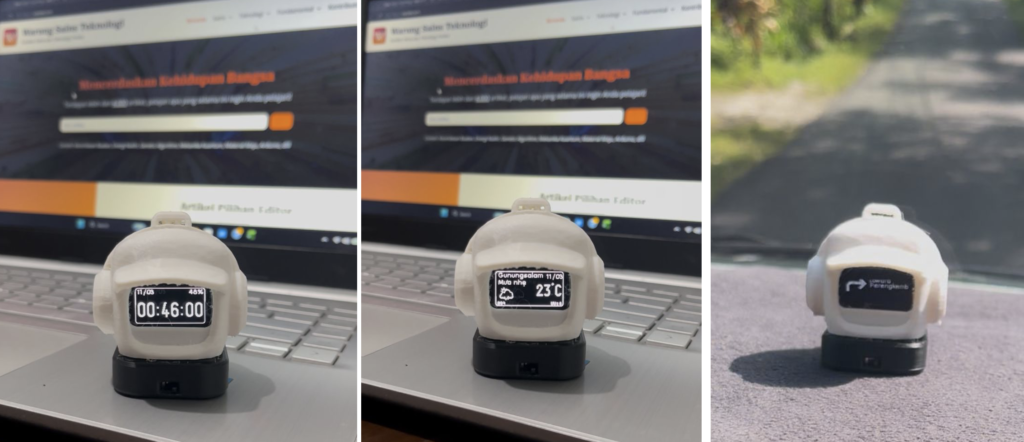
Below are the features available on your Dasai Mochi device:
- Display the current time (after connecting to the Chronos application – Android smartphones only).
- Display weather information (after connecting to the Chronos application – Android smartphones only).
- Display Google Maps navigation directions (after connecting to the Chronos application – Android smartphones only).
- Equipped with a 3500 mAh battery.
- Rechargeable battery (recommended charger: 5V 1A).
Instructions for Use
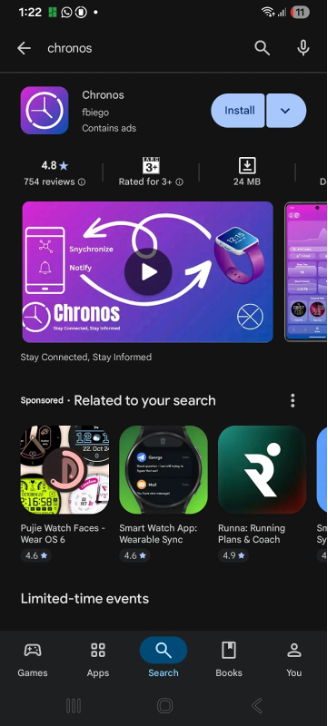
a. Install the Chronos Application
Install the Chronos application from the Google Play Store.
Make sure to choose the version developed by fbiego, as shown in the illustration.
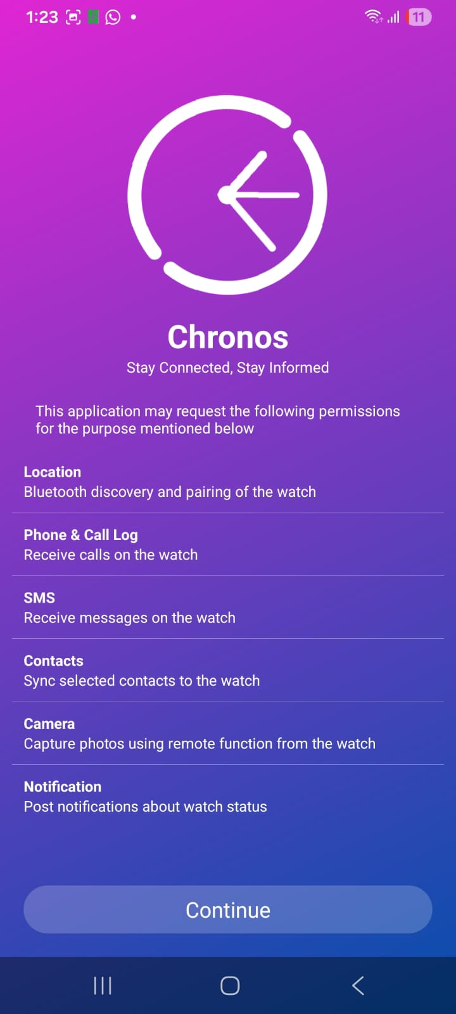
b. Open the Application
After installation:
- Open the Chronos application.
- The welcome screen will appear.
- Check “I have read and agree to the…”.
- Tap “Continue”.
c. Start Setup
Tap “Next” to begin the setup process.
d. Disclaimer
A disclaimer message will appear.
Tap “I Understand” to proceed.
e. Application Features
The Chronos application will show its features.
Tap “Continue”.
f. Connect Dasai Mochi
At this stage, your smartphone will connect to Dasai Mochi.
- Turn on your Dasai Mochi device.
- Wait a few moments.
- Tap “Search” in the Chronos application.
g. Select the Device
You will see a device named “The Mochi”, which is the Bluetooth name of your Dasai Mochi.
Tap “The Mochi”.
h. Connection Process
Wait until the message appears:
“Connected to THE MOCHI”
This indicates the device has been successfully connected.
i. Enable Google Maps Access
To allow navigation features:
- Tap “Notification Access”
- Enable access for Google Maps
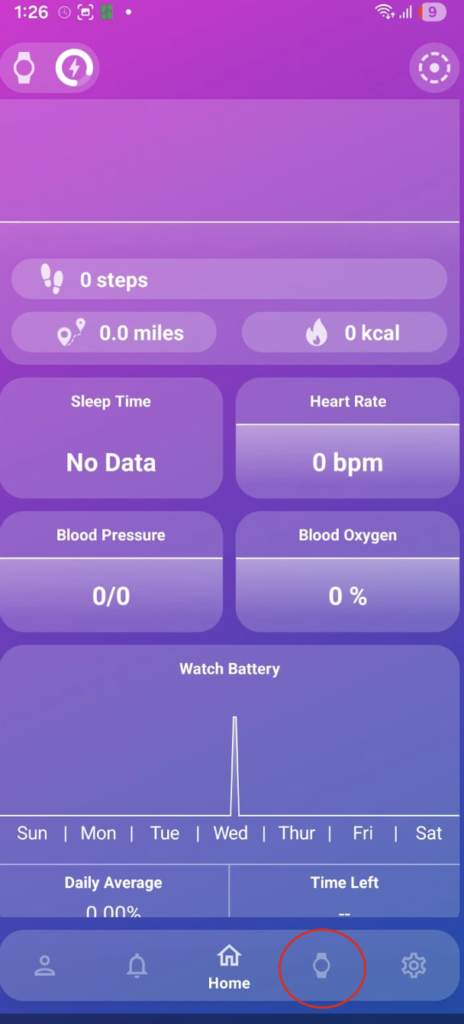
j. Display the Clock
Your Dasai Mochi is now ready to use.
To display the clock. Tap the clock icon in the bottom-right corner of the application.
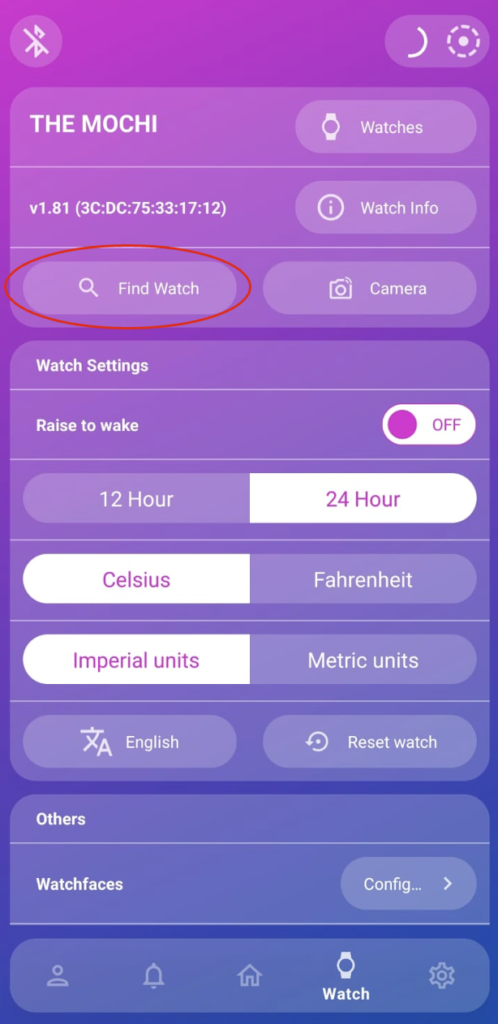
k. Change the Display
A menu will appear.
Tap “Find Watch” to switch the display:
- First tap → shows the smartphone clock
- Second tap → shows weather information
- Third tap → returns to the Dasai Mochi animation
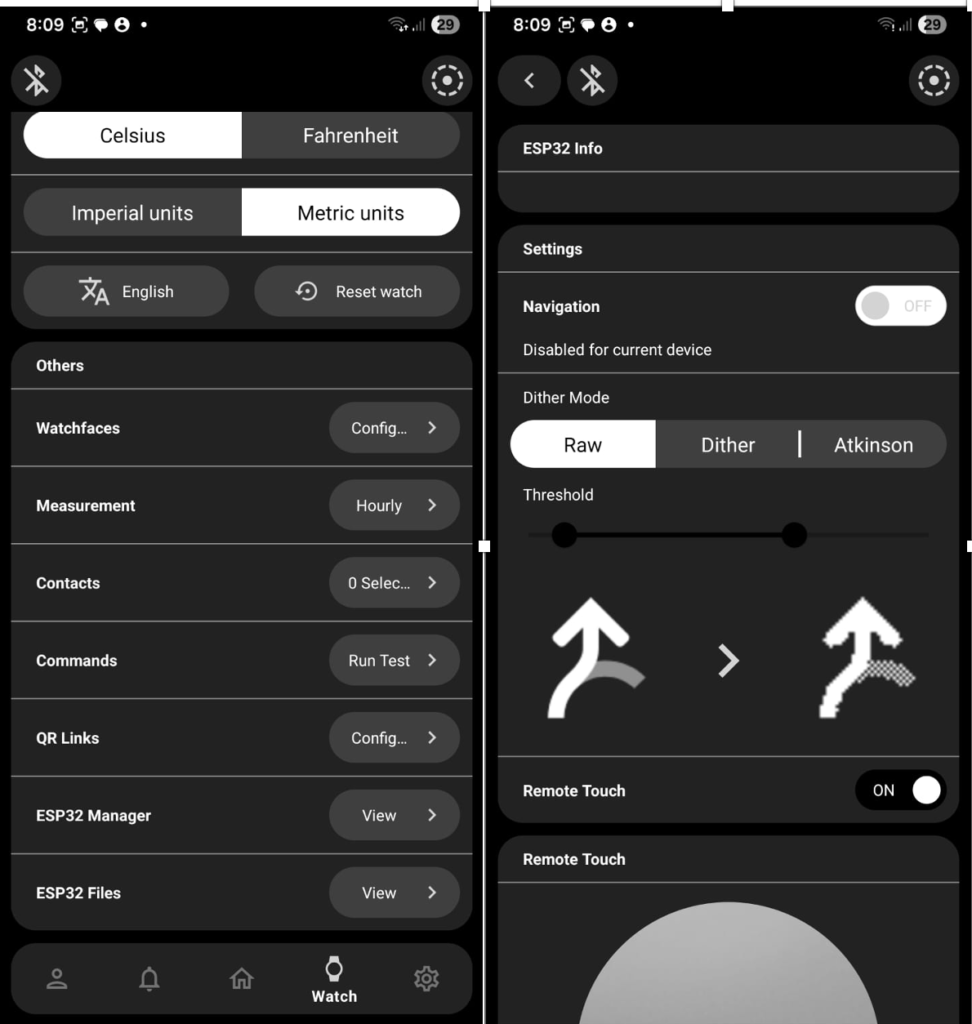
l. Enable Google Maps Navigation
To enable navigation display:
- Scroll down the “Watch” menu until you find “ESP32 Manager”
- Tap “View”
- In the Navigation menu, set the status to Enabled
m. Use Navigation
- Open Google Maps
- Choose your destination
- Tap “Directions”
Navigation instructions will automatically appear on your Dasai Mochi.